I had some of the fondest memories for Visual Basic in 1998. In January, I enlisted myself to a project to revive the fun part of programming. There are certain regrets in today’s software engineering culture where we put heavy facades to enforce disciplines. Fun was lost as the result.
With Visual Basic, you can create a GUI and start to hack a program in no time. You write directives and the computer will obey. There are certain weirdnesses in the syntax and some magic in how everything works together. But it worked, you can write and distribute a decent app that works on Windows with it.
When planning my little series the fun part of programming, there is a need to write cross-platform UI outside of Apple’s ecosystem in Swift. I picked Swift because its progressive disclosure nature (it is the same as Python, but there are other reasons why not Python discussed earlier in that post). However, the progressive disclosure ends when you want to do any UI work. If you are in the Apple’s ecosystem, you have to learn that a program starts when you have an AppDelegate, a main Storyboard and a main.swift file. On other platforms, the setup is completely different, even if it exists at all.
That’s why I spent the last two days experimenting whether we can have a consistent and boilerplate-free cross-platform UI in Swift. Ideally, it should:
- Have a consistent way to build GUI app from the Swift source, no matter what platform you are on;
- Progressive disclosure. You can start with very simple app and it will have the GUI show up as expected;
- Retained-mode. So it matches majority of UI paradigms (on Windows, macOS, iOS and Android), easier for someone to progress to real-world programming;
- Can still code up an event loop, which is essential to build games.
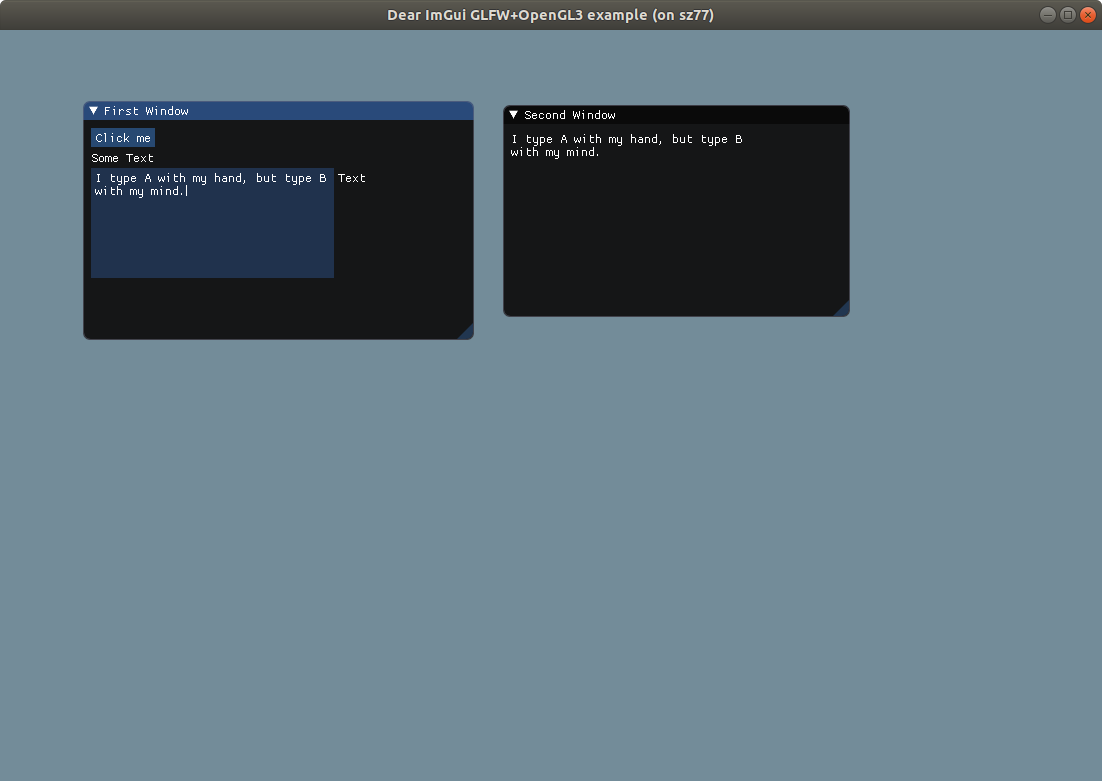
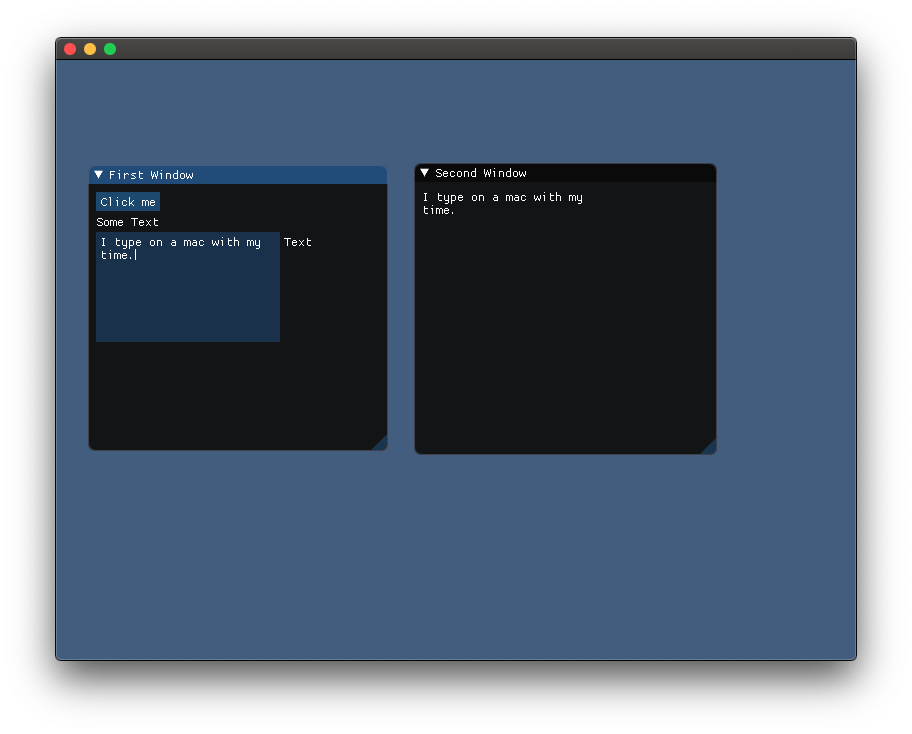
After some hacking and experimenting, here is what a functional GUI app that mirrors whatever you type looks like:
1
2
3
4
5
6
7
8
9
10
11
12
13
14
15
16
17
18
19
20
21
22
import Gui

let panel = Panel(title: "First Window")
let button = Button(title: "Click me")
let text = Text(text: "Some Text")
panel.add(subview: button)
panel.add(subview: text)
let childText = TextInput(title: "Text")
childText.multiline = true
let childPanel = Panel(title: "Child Panel")
childPanel.add(subview: childText)
panel.add(subview: childPanel)

button.onClick = {
  let panel = Panel(title: "Second Window")
  let text = Text(text: "Some Text")
  panel.add(subview: text)
  text.text = childText.text
  childText.onTextChange = {
    text.text = childText.text
  }
}
You can use the provided build.sh to build the above source on either Ubuntu (requires sudo apt install libglfw3-dev and Swift 5.2.1) or macOS (requires Xcode 11):
1
./build.sh main.swift
and you will see this:


Alternatively, you can build an event loop all by yourself (rather than use callbacks):
1
2
3
4
5
6
7
8
9
10
11
12
13
14
15
16
17
18
19
20
21
22
23
24
25
26
import Gui

let panel = Panel(title: "First Window")
let button = Button(title: "Click me")
let text = Text(text: "Some Text")
panel.add(subview: button)
panel.add(subview: text)

var onSwitch = false
var counter = 0
while true {
  if button.didClick {
    if !onSwitch {
      onSwitch = true
    } else {
      onSwitch = false
    }
  }
  if onSwitch {
    text.text = "You clicked me! \(counter)"
  } else {
    text.text = "You unclicked me! \(counter)"
  }
  counter += 1
  Gui.Do()
}
In fact, the Gui.Do() method is analogous to DoEvents that yields control back to the GUI subsystem.
The cross-platform bits leveraged the wonderful Dear imgui library. Weirdly, starting with an immediate-mode GUI library makes it easier to implement a retained-mode GUI subsystem that supports custom run loops well.
You can see the proof-of-concept in https://github.com/liuliu/imgui/tree/swift/swift. Enjoy!